10 Easy diy room improvement for your home this weekend
You know that moment when you look around your room and think, “Wow, this place has potential… and also a suspicious number of charging cables”? Yeah, that’s your sign. You can knock out a legit easy DIY room improvement this weekend without turning your home into a dusty construction zone.
I love weekend DIY projects because they deliver that instant “I did something!” energy. I also love them because I can stop on Sunday night and still pretend I live a calm, organized life. Want room improvement for your home that feels real, doable, and not like a 12-week renovation show? Let’s do it.
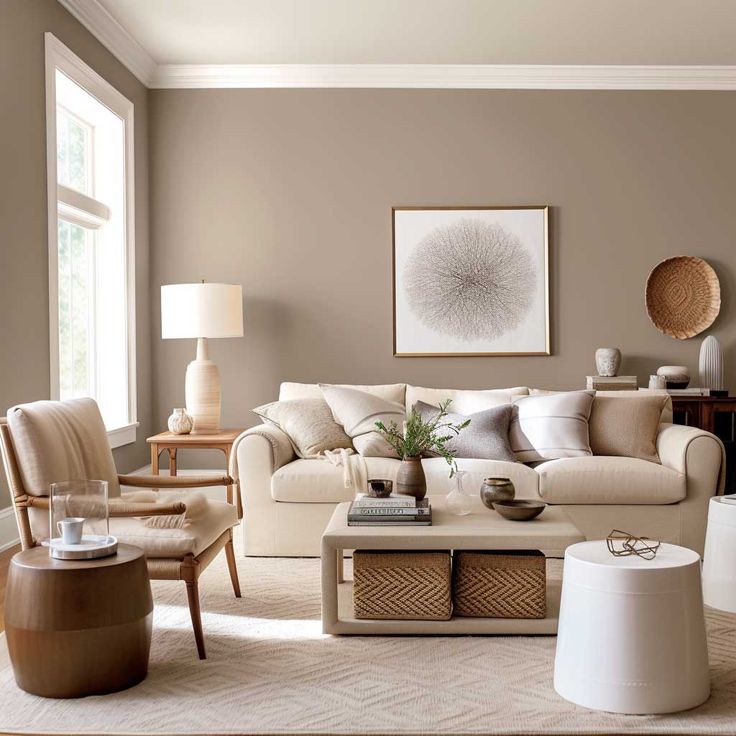
1) Paint One Accent Wall (The Fastest Visual Glow-Up)
Paint changes a room faster than almost anything else. You can paint one wall and instantly get that “new room” vibe without touching the rest of the space. Ever notice how one bold (or moody) wall makes your furniture look more expensive? That trick never fails.
I usually choose the wall behind the bed or the wall your eyes hit first. I once painted a tiny office wall a deep green, and my cheap desk suddenly looked “intentional.” Weird how that works, right?
Quick plan (so you finish before dinner)
- Buy one gallon of paint (most accent walls don’t need more)
- Grab painter’s tape, a roller, angled brush, and a drop cloth
- Paint two coats and keep a fan running for faster drying
Best colors for easy wins: warm white, charcoal, navy, olive, or a soft clay tone.
2) Swap Cabinet Knobs and Drawer Pulls (Tiny Change, Big Impact)
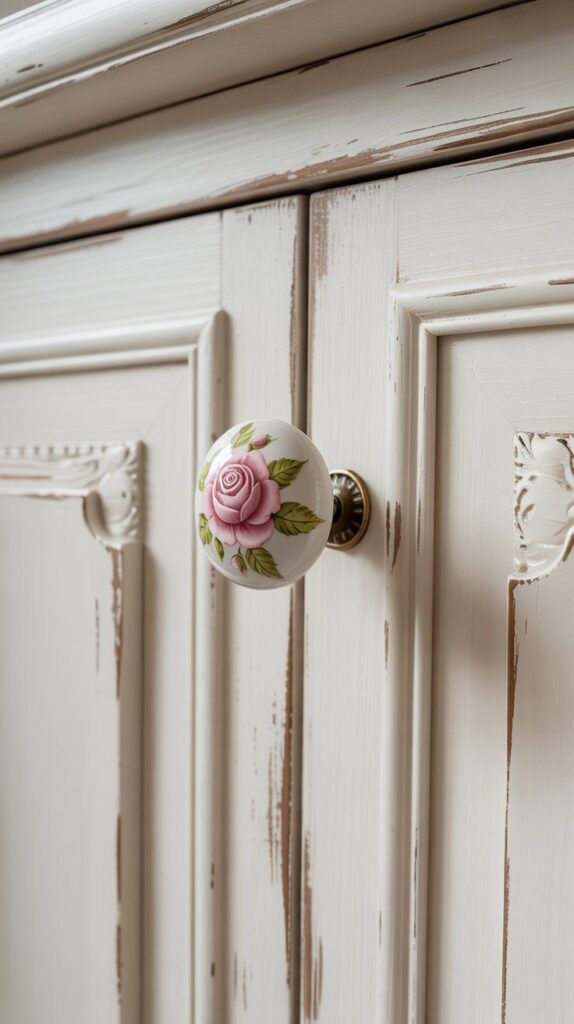
Hardware upgrades feel like magic because they cost little and look high-end. You can make a basic dresser look custom with the right knobs. Do you want your room to look “styled” without buying new furniture? This trick does that.
I’ve swapped hardware on nightstands, dressers, and even an old TV console. I always pick a finish and stick with it because mixed metals can look cool, but they can also look like I grabbed whatever I found in a random drawer.
What to buy and how to avoid regret
- Measure the center-to-center screw spacing on pulls
- Choose a finish: matte black, brushed brass, or satin nickel
- Use a manual screwdriver if you strip screws with a drill (ask me how I know)
Pro tip: Bring one old knob to the store so you match the size and fit.
3) Add Peel-and-Stick Wallpaper to One Section (Rental-Friendly Drama)
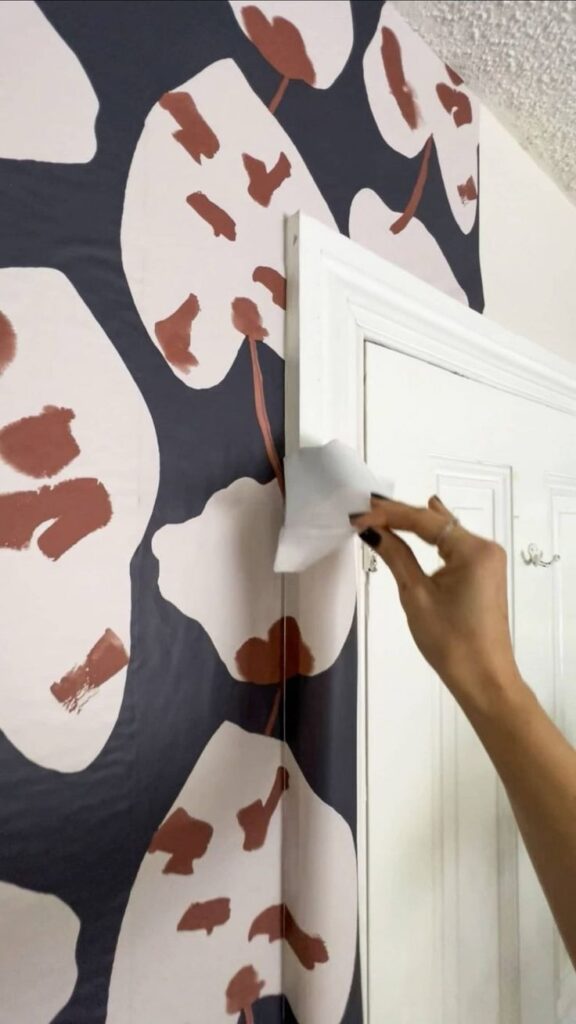
Peel-and-stick wallpaper gives you the “designer wall” look without the commitment. You can cover a small wall, the back of a bookcase, or a nook and get instant personality. Want a room improvement idea that photographs well for absolutely no reason? This one does.
I like subtle patterns in bedrooms and bolder prints in offices or powder rooms. I once wallpapered the back of open shelves, and guests asked where I bought the “custom unit.” I nodded like I planned that all along.
Make it look smooth (and not like a wrinkled sandwich)
- Clean the wall with a mild cleaner and let it dry
- Use a level and pencil to mark a straight starting line
- Smooth as you go with a plastic scraper or credit card
Smart choice: Start with a small area so you learn the technique without panic.
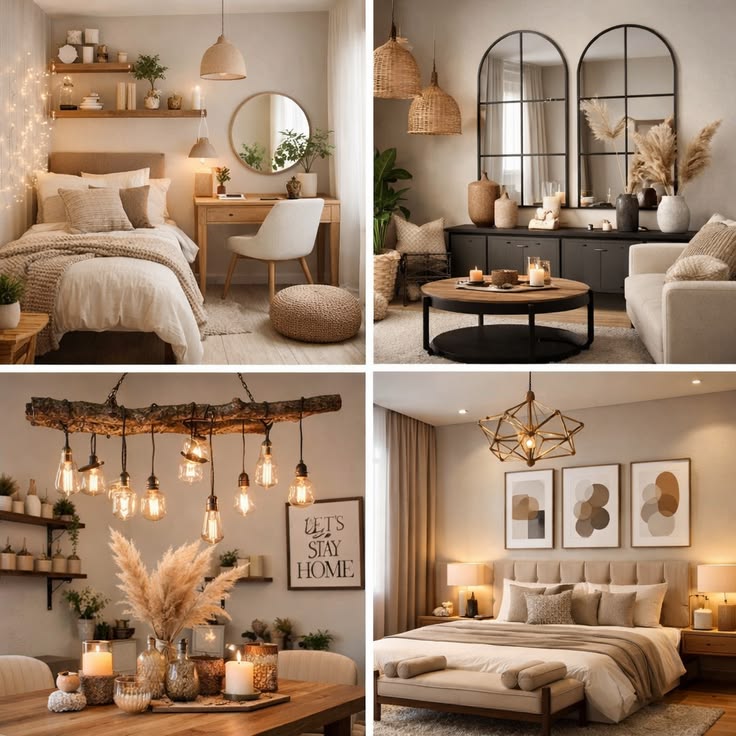
4) Upgrade Your Lighting With a New Shade and Better Bulbs
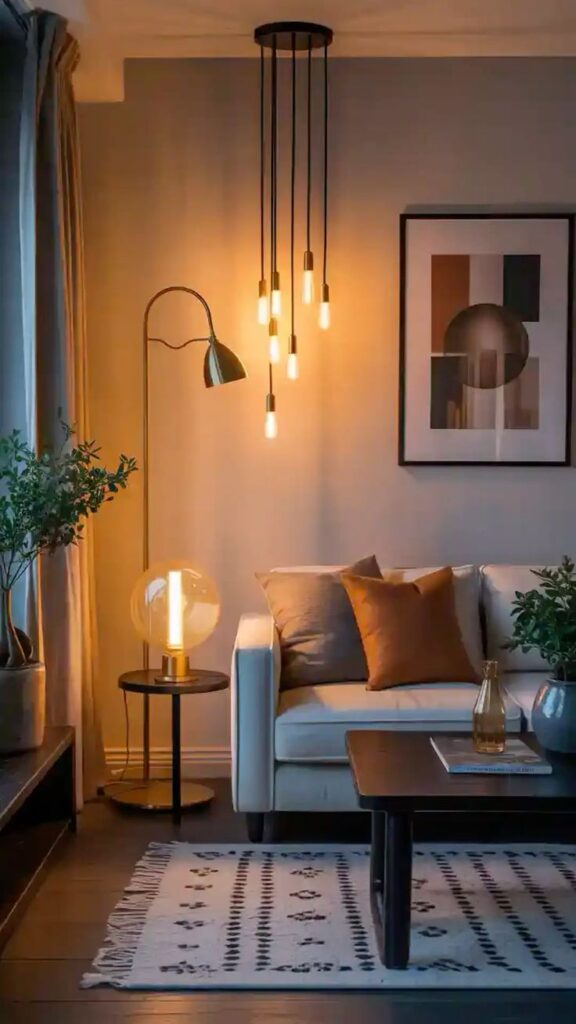
Lighting controls the mood more than people realize. One warm, cozy lamp can save a room from looking like a doctor’s waiting area. Have you ever turned on a bright overhead light and immediately felt attacked? Same.
I always start with bulbs because they cost little and change everything. Then I swap lampshades or add a plug-in wall sconce if I want more style.
Simple lighting upgrades you can finish fast
- Switch to 2700K warm bulbs for cozy light
- Add a dimmer plug for lamps (instant mood control)
- Replace a dated lampshade with linen or woven texture
FYI: One floor lamp plus one table lamp usually beats a single overhead light every time.
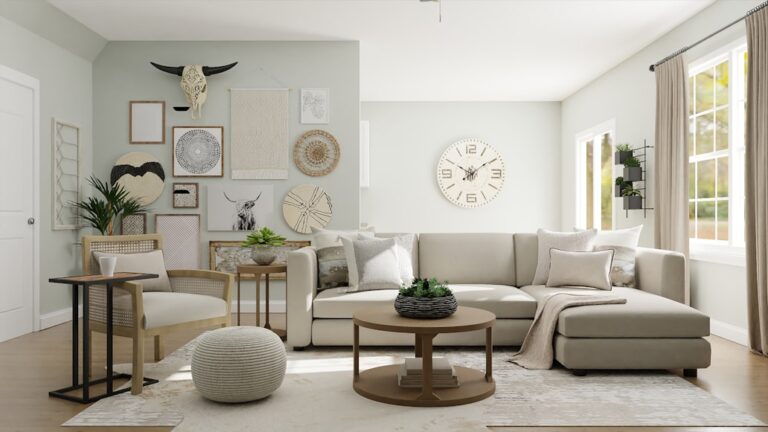
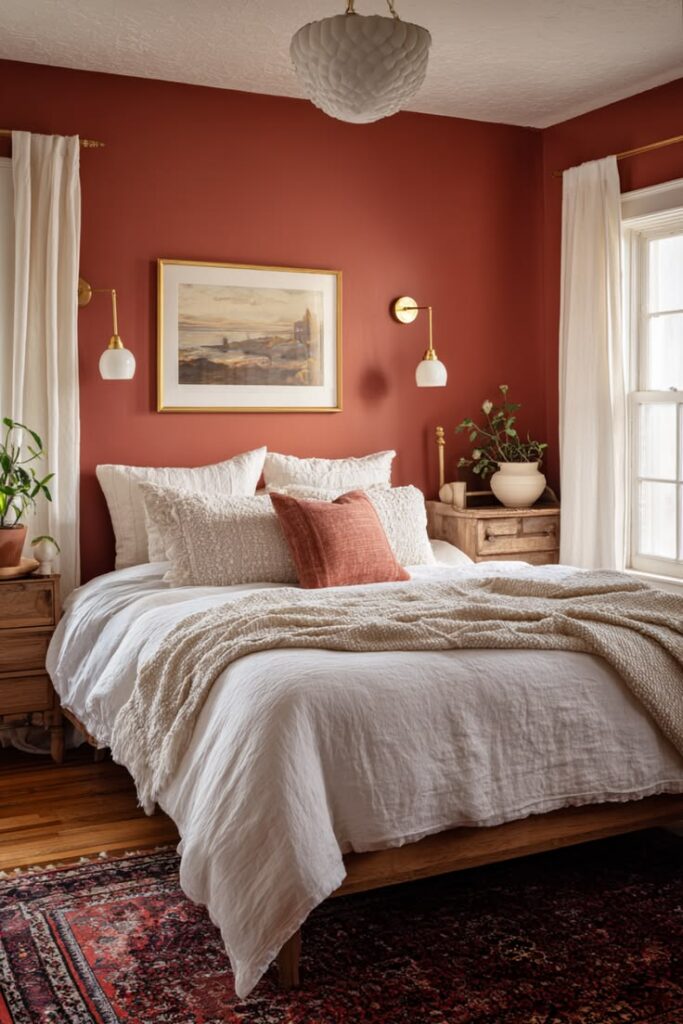
5) Create a Mini Gallery Wall (Without the “Crooked Frame” Chaos)
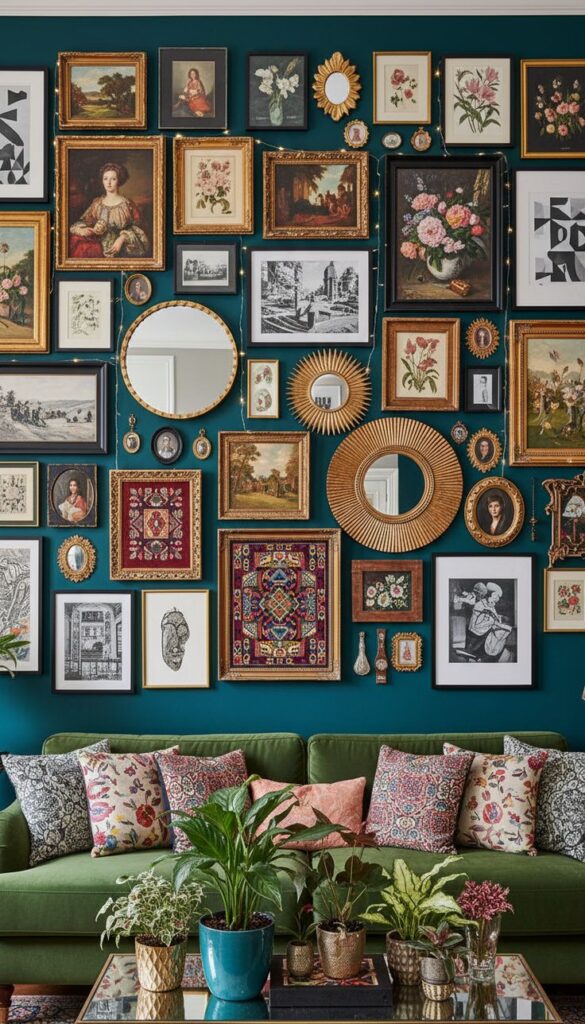
A gallery wall adds character, but you need a plan so it doesn’t look messy. I like to keep frames consistent and vary the art sizes. Do you want a room to feel “collected” instead of “empty”? Hang art.
I use thrifted frames all the time. I spray-paint mismatched frames the same color when I want a cleaner look, and I print art at home when I feel cheap (which happens often).
My no-stress gallery wall method
- Lay everything on the floor first and snap a photo
- Keep 2–3 inches between frames for clean spacing
- Use painter’s tape on the wall to map the layout
Best beginner move: Start with three frames in a row above a sofa or bed.
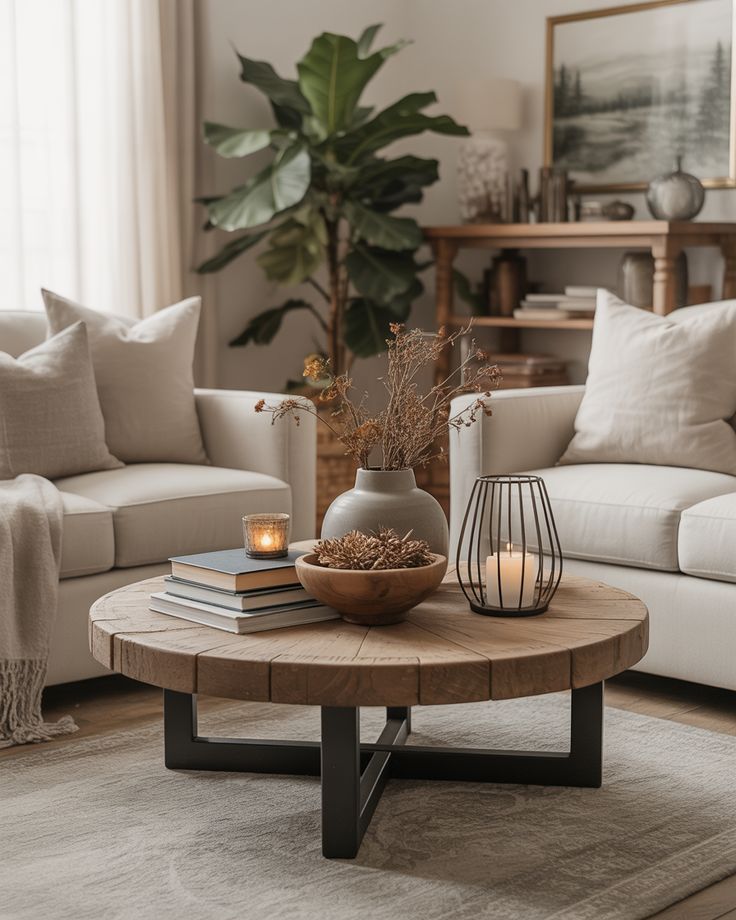
6) Install Floating Shelves (Storage + Style in One Move)
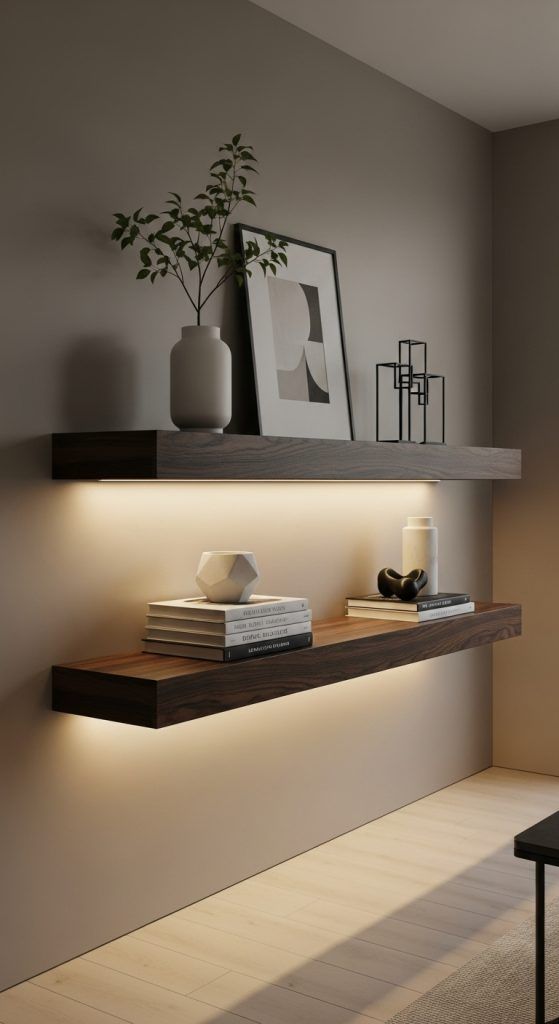
Floating shelves give you storage without bulky furniture. You can style them with books, candles, plants, and baskets, and the room instantly looks finished. Ever wonder why staged homes always look “clean” and “cozy”? Shelves do a lot of that work.
I install shelves in bedrooms for books and in living rooms for decor. I also use them in small spaces where a full bookshelf would crowd the room.
Tools and tips for strong shelves
- Use a stud finder and hit studs when you can
- Use heavy-duty anchors if you miss studs
- Keep shelf depth around 6–10 inches for most rooms
Reality check: Shelves look cute, but they also reveal clutter, so style them with intention.
7) Refresh Caulk and Touch Up Paint (The Unsexy Upgrade That Looks Expensive)
Fresh caulk and paint touch-ups make a room look crisp. You fix the little gaps and scuffs that scream “I live here and I bump into things.” Do you want a cleaner look without buying anything big? Clean lines do that.
I redo caulk around baseboards, trim, and windows when things look rough. I also keep a small container of matching wall paint for quick fixes.
Fast refresh checklist
- Cut away old caulk with a utility knife
- Apply paintable caulk in a thin, steady line
- Smooth with a wet finger or caulk tool
Big payoff areas: baseboards, door trim, and corners near furniture.
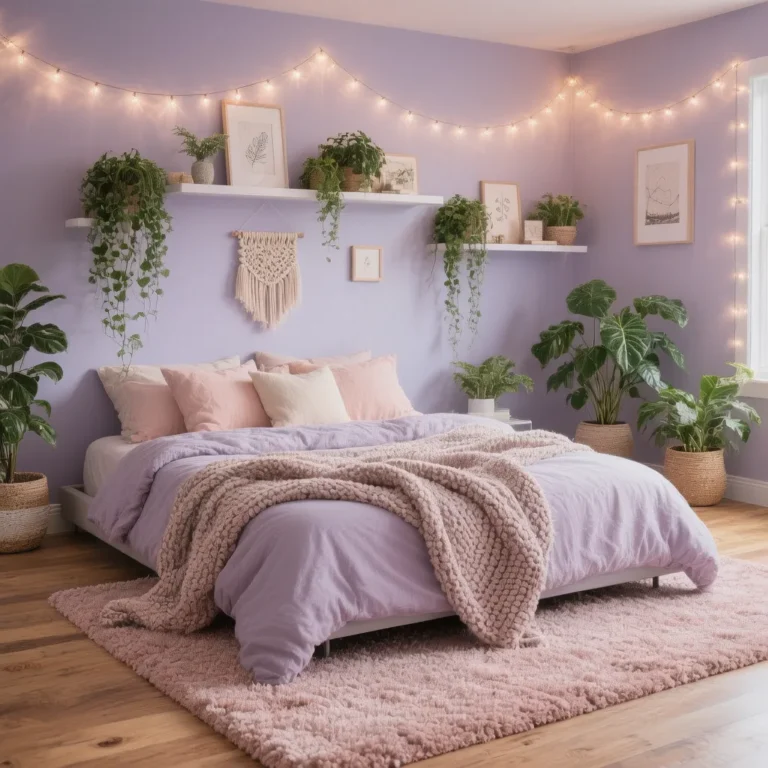
8) Add Plants (Even If You “Kill Everything”)
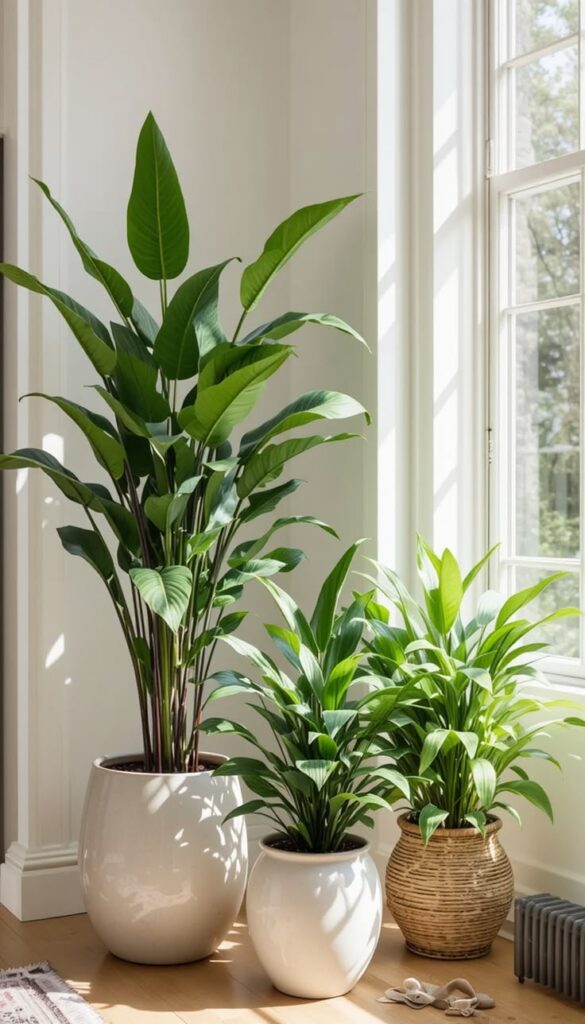
Plants add life, color, and softness. They also make you look like you have your life together, which feels helpful on a weekend. Do you want the quickest way to make a room feel more inviting? Add greenery.
I stick to low-drama plants because I enjoy living without plant guilt. I also love a good planter because the pot matters almost as much as the plant.
Beginner-proof plant picks
- Snake plant (tough and stylish)
- Pothos (for shelves and trailing vibes)
- ZZ plant (lives through neglect like a champ)
Quick styling tip: Use one larger plant in a corner and one small plant on a shelf for balance.
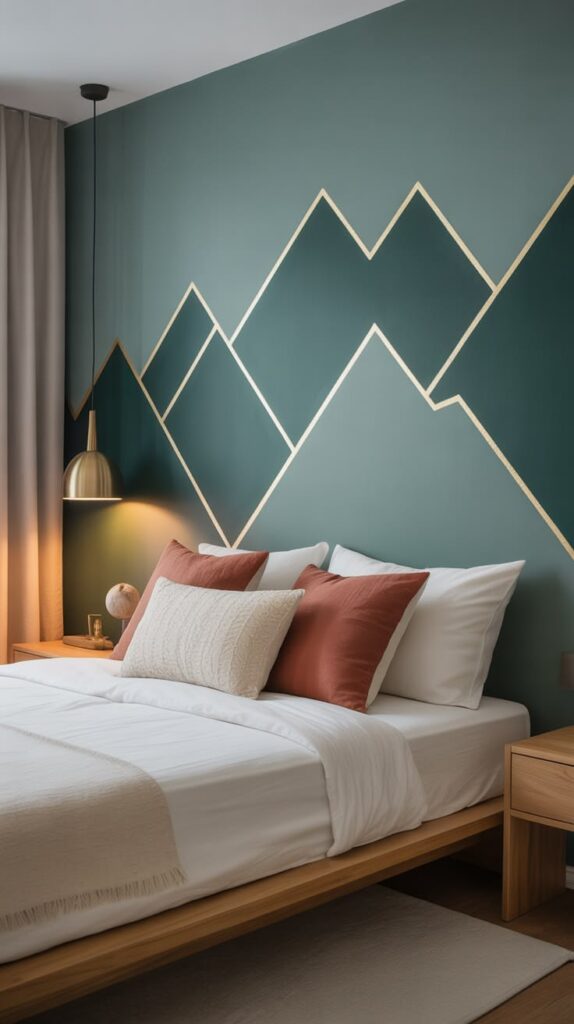
9) DIY a Headboard or Wall Panel Behind the Bed (Hotel Vibes, Weekend Effort)
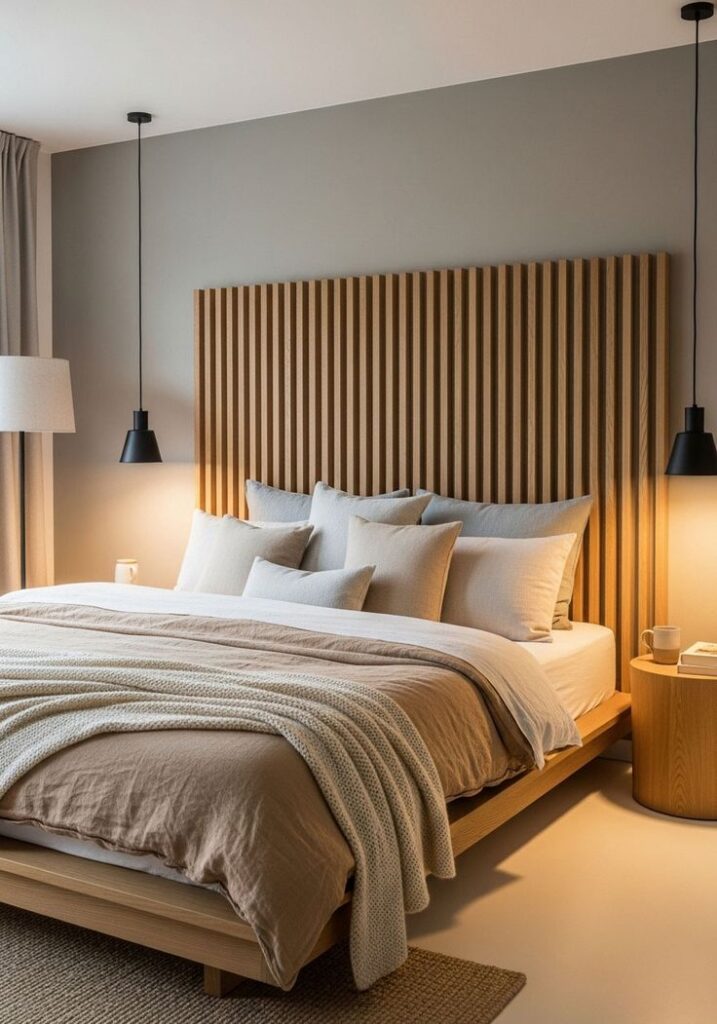
A headboard changes the whole bedroom, even if you keep everything else the same. You can build a simple wood headboard, upholster a panel, or mount a cushioned board on the wall. Ever walk into a room and think it looks “complete”? A headboard helps.
I once made a padded headboard with plywood, foam, batting, and fabric. I finished it in an afternoon, and my bed instantly looked like it belonged in a catalog.
Simple upholstered headboard basics
- Plywood cut to size, plus 2-inch foam
- Batting and fabric, plus a staple gun
- Wall mounting hardware or French cleat
IMO: Neutral fabric and clean lines win if you want a look that lasts longer than your current decor phase. 🙂
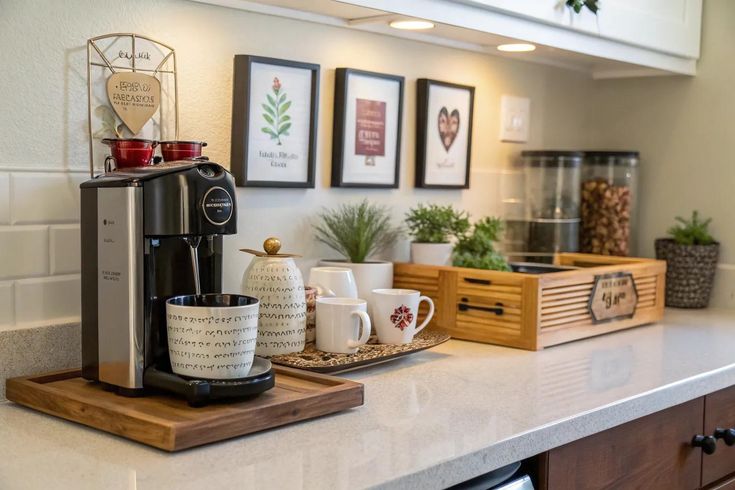
10) Declutter One “Hotspot” and Add Smart Storage (So It Stays Clean)
Decluttering sounds boring until you see the results. You don’t need a full-house purge; you need one focused win. Do you know that one corner that collects bags, cords, and random socks? Fix that corner and you change the room.
I always choose one hotspot: the nightstand, the entry basket situation, or the top of the dresser. I add containers that match the room so the storage looks intentional instead of “panic bins.”
A simple declutter system that actually sticks
- Set a timer for 30 minutes
- Keep, toss, donate, and relocate in four piles
- Add one basket and one tray to catch daily clutter
Best rule: Give every small item a home, or it will create its own home on your furniture.
Quick Weekend Game Plan (So You Don’t Start 10 Projects and Finish 0)
You can pick one big project or two small ones and still feel the difference. I usually pair one “messy” upgrade with one “clean” upgrade so I keep momentum. Do you want a stress-free weekend DIY win instead of a half-finished disaster zone? Choose your combo and commit.
Here are a few easy pairings:
- Accent wall + new hardware
- Gallery wall + lighting upgrade
- Floating shelves + declutter hotspot
- Plants + caulk refresh (surprisingly satisfying)
Conclusion: Pick One Upgrade and Let Your Room Thank You
You can pull off a real easy DIY room improvement for your home this weekend with paint, hardware, lighting, shelves, plants, or a quick headboard project. You don’t need a giant budget or special skills; you just need a plan and a little patience. You also need to stop scrolling for “one more idea” and start doing the thing.
So what do you want by Sunday night: a cozier bedroom, a cleaner living room, or a space that finally feels like you? Pick one project, grab your supplies, and enjoy that smug little “I improved my home” feeling—because you earned it.