11 DIY Halloween Pumpkin Carving Ideas
You want some great pumpkin carving ideas that are really cool do not need you to be a good artist and will not make a big mess in your kitchen. I understand this because I carve pumpkins every year and I still get orange strings over my cabinet doors.
So let us make this fun and easy to do. I will show you 11 simple Halloween pumpkin carving ideas that’re easy and cool plus some tips I learned from my mistakes. Are you ready to make your porch look really spooky?
Before you start carving your pumpkin you need to get some things: a special saw for carving a scoop, a marker and a spoon. I also like to use lights that are safe and will not start a fire. It is an idea to put a damp paper towel under your pumpkin so it does not slip around while you are cutting it.
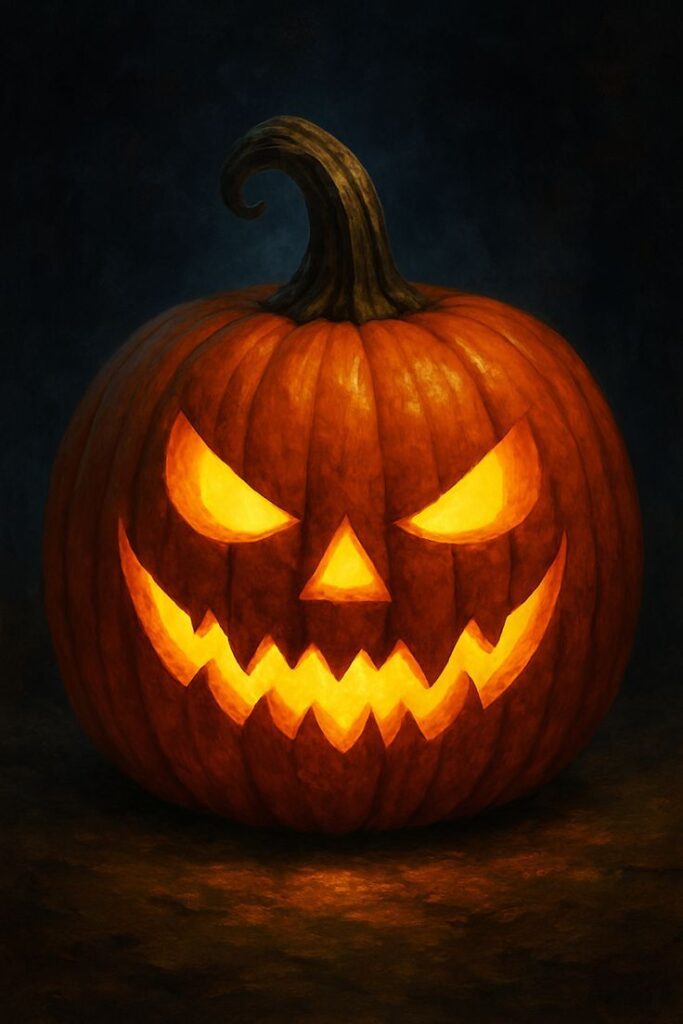
1) The Classic Jack-o’-Lantern

You already know how to make a pumpkin face with triangle eyes but you can make it look better with a small change: carve a smirk on your pumpkin instead of a smile. Have you ever noticed how a little grin can make your pumpkin look like it has a personality? It looks like it knows a secret and will not tell you.
Keep this design simple. Your pumpkin will look really great with a bold glow, which is what people like, about Halloween pumpkin carving.
How I carve it:
- Draw one eyebrow higher than the other.
- Cut the mouth with one corner higher, like your pumpkin just heard gossip.
- Add two small fang triangles for extra attitude.
If you want an easy win, this counts as one of the best easy pumpkin carving ideas because you control the difficulty with the details.
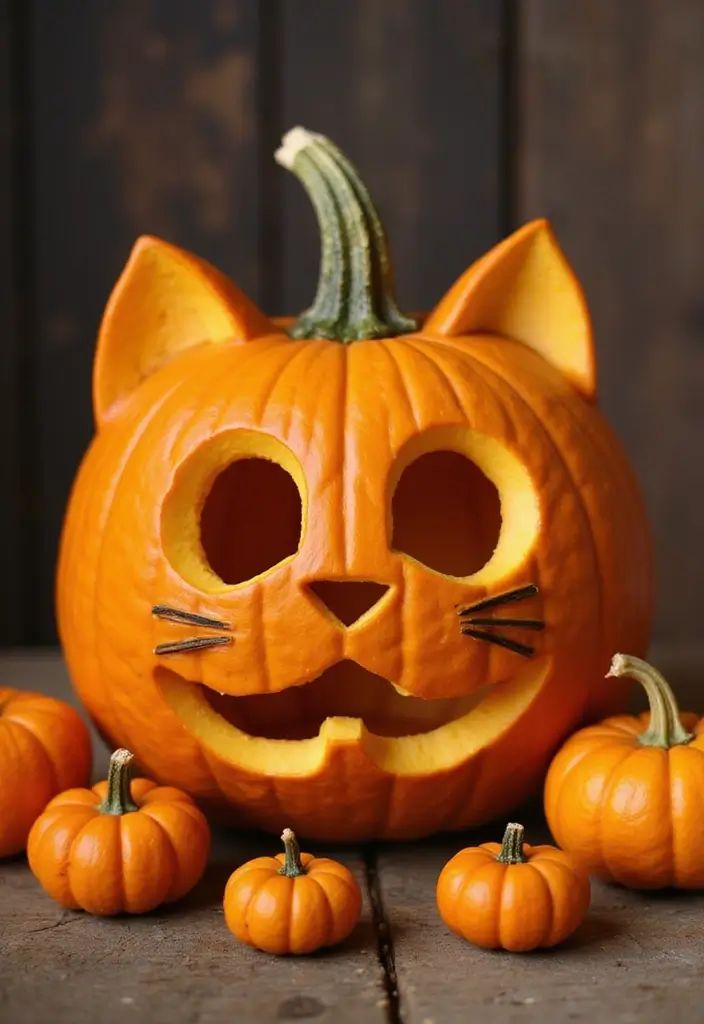
2) Black Cat Silhouette That Screams “Halloween” Without Trying
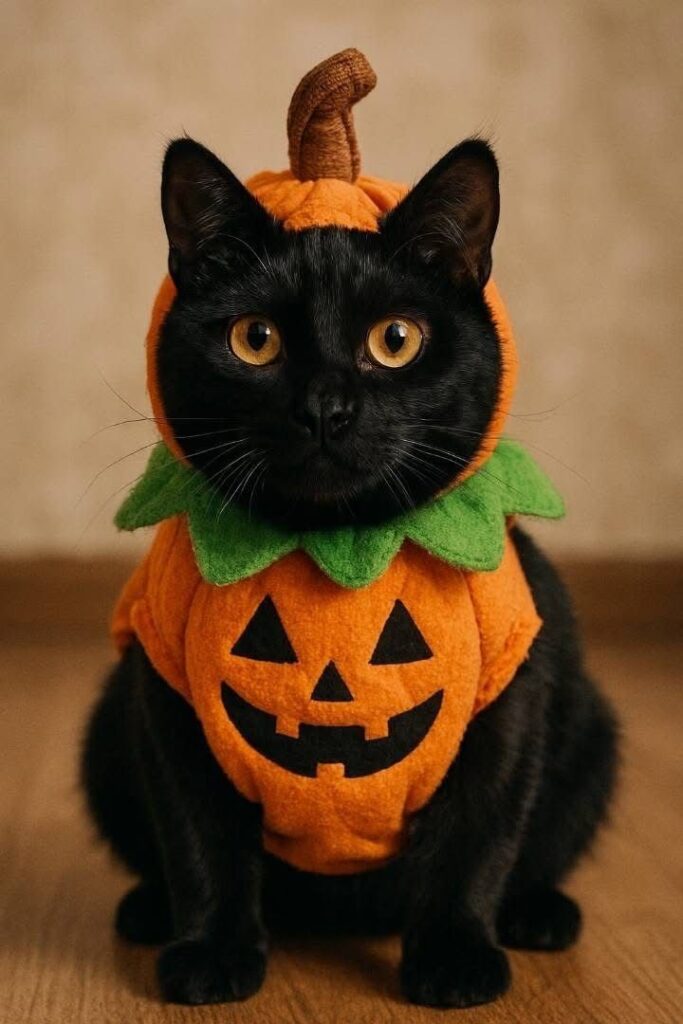
A cat silhouette always looks crisp because you focus on the shape, not tiny details. Plus, cats already judge everyone, so the vibe fits. Do you want a pumpkin that looks classy and spooky at the same time?
I love this one because the design reads clearly from the sidewalk, even if you carve it in a hurry.
What you do:
- Sketch a sitting cat with an arched back and a curly tail.
- Cut the silhouette as one connected shape.
- Keep the eyes as thin slits so the glow looks eerie.
Pro tip: Aim for big negative space (bigger cutouts). You get a brighter glow and fewer “oops” moments.
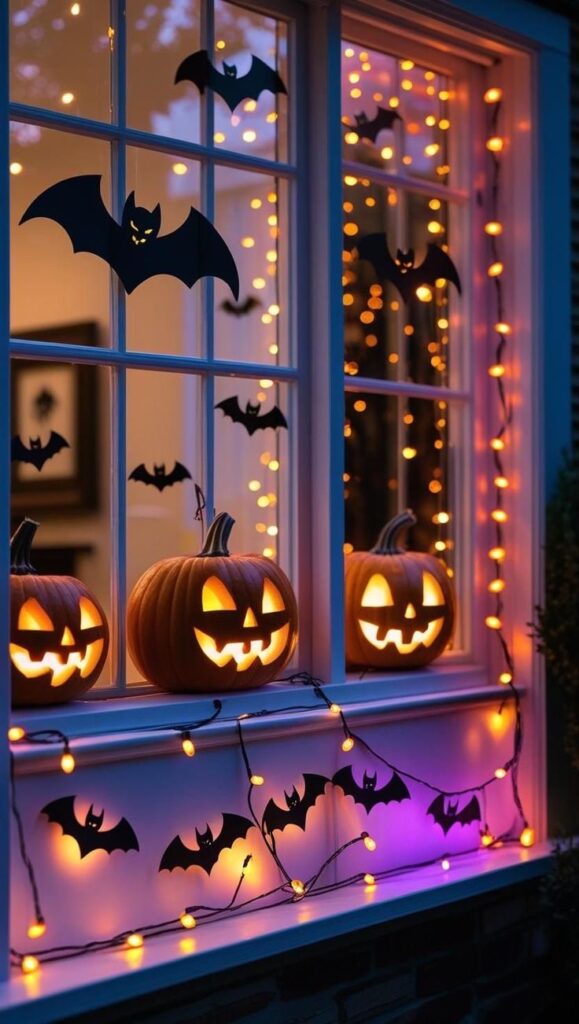
3) Haunted House Windows (AKA Instant Spooky Storytelling)
This design makes your pumpkin look like a tiny haunted building, and people always lean in for a closer look. Who doesn’t love windows with something “definitely not friendly” behind them?
I carved this once for a party, and three different people asked me where I bought it. I smiled and accepted my completely deserved praise.
Make it pop:
- Draw a crooked house outline with 3–6 windows.
- Carve window shapes as rectangles and arches.
- Add “broken boards” with a few quick diagonal cuts.
Extra credit (still easy):
- Carve a tiny moon near the roofline.
- Add a mini bat as a simple “M” shape.
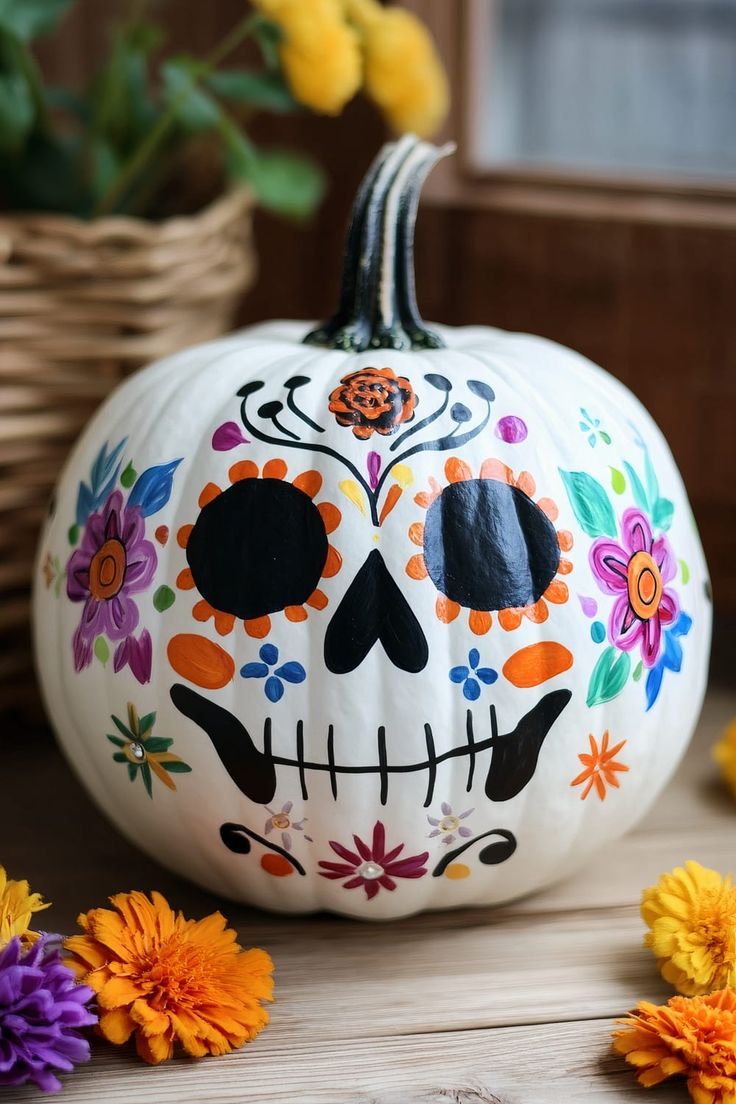
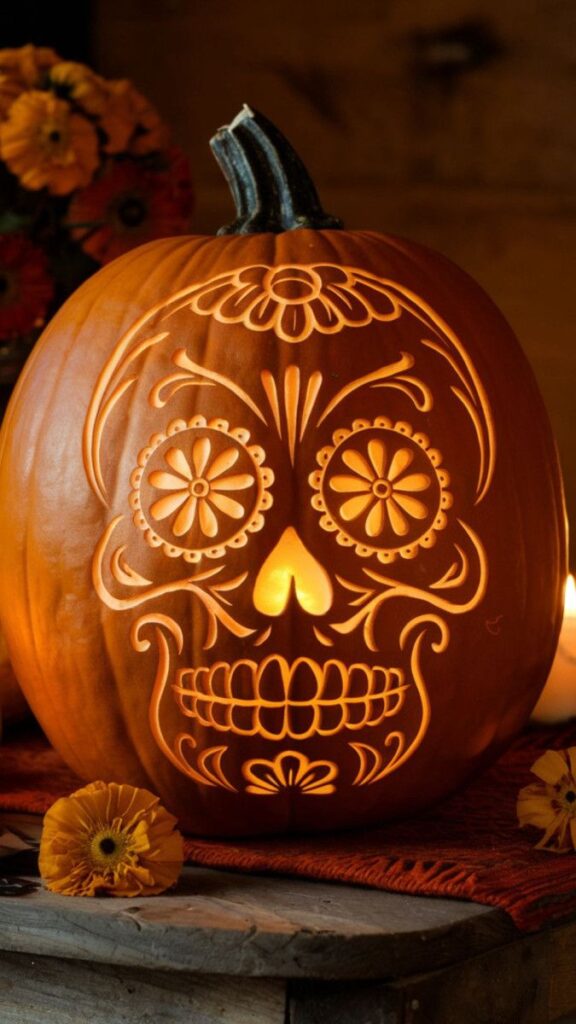
4) Sugar Skull Pumpkin That Looks Harder Than It Is

A sugar skull design brings that bold, festive Day-of-the-Dead energy while still feeling perfect for Halloween. You don’t need fancy shading skills—you just need symmetry… or at least confidence.
Do you ever notice how patterns look impressive even when you freehand them? Your pumpkin won’t complain if one cheek swirl goes rogue.
Keep it manageable:
- Draw big eye circles and a heart-shaped nose.
- Add simple decorations: dots, teardrops, and curls.
- Carve dots with the tip of your knife for crisp highlights.
Key move: Keep the mouth as small vertical “stitches” instead of teeth. You save time, and it still screams “skull.”
5) Witch Hat + Broom = Peak Halloween Energy
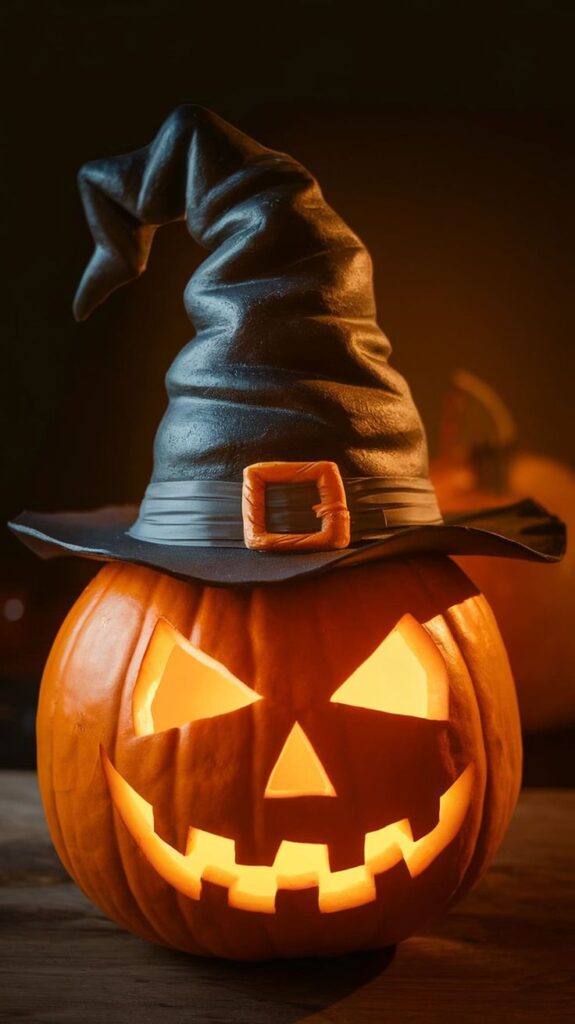
This one looks iconic on a porch. You carve a witch hat silhouette, then you add a broom crossing behind it like a logo. You know that feeling when a design just reads instantly? This does that.
I like this idea when I want something clean that still looks intentional, not like I panicked and carved triangles.
Steps:
- Sketch a tall hat with a bent point.
- Add a buckle as a simple rectangle cutout.
- Carve a broom handle diagonally with a thicker bristle end.
Make it glow better: Widen the hat’s base cutout so more light spills out.
6) Spider + Web That Actually Looks Creepy (In a Good Way)
Spider webs look intricate, but you can fake it with a few strong lines. Then you add one chunky spider, and suddenly your pumpkin feels like it belongs in a horror movie.
Do you want the easiest route to “ew, I hate it” reactions from your friends? Carve this.
What works best:
- Draw a web with 3–4 long spokes.
- Add curved connector lines between spokes.
- Carve a spider with a round body and thick legs.
Personal preference: I carve the spider bigger than I think I should. A tiny spider looks cute, and Halloween never asked for cute.
7) Monster Mouth With Real Pumpkin “Teeth”
You can turn your pumpkin into a chomping monster by carving a huge mouth and using the pumpkin’s natural shape. This idea wins because it looks 3D without requiring you to sculpt like a movie prop artist.
Ever wanted your pumpkin to look like it might bite the neighbor kids? Same.
Do this:
- Carve an oversized mouth shape that wraps wide.
- Cut triangle teeth but leave thicker “gums” for strength.
- Use pumpkin seeds as extra jagged teeth (just press them into the flesh).
Important: Don’t carve the teeth too thin. Thin teeth snap fast, and then your monster looks like it needs dental insurance.
8) Starry Night / Constellation Pumpkin (Clean and Modern)
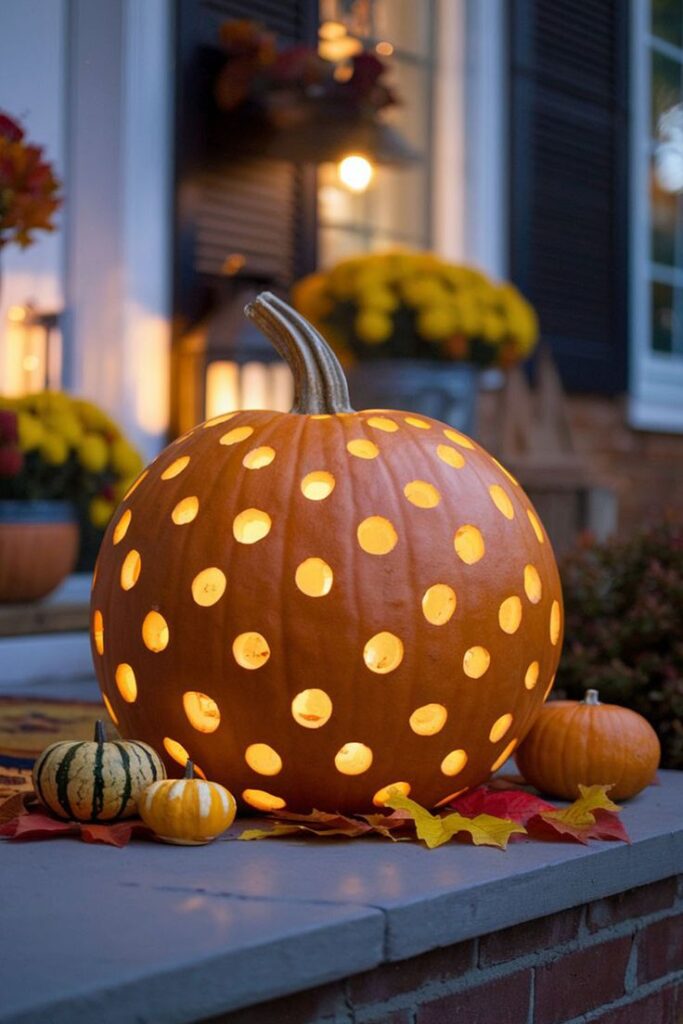
This one trades big cutouts for lots of tiny holes. You get a soft, starry glow that looks incredible at night, especially on a porch with other lights off.
IMO, this counts as the most “effort-to-wow” efficient design on the list. You don’t even need perfect drawing skills.
How you pull it off:
- Draw a few simple constellations with dots.
- Poke holes with a skewer or drill bit (carefully).
- Vary hole sizes for a more natural “sky” look.
Lighting tip: Use a bright LED so the tiny holes still shine.
9) Simple Pumpkin Portrait (Yes, You Can Do It)
You don’t need to carve a perfect face to make a portrait work. You just need strong features and a bold outline, like a cartoon. Why do portraits look cool on pumpkins? Because the curve adds natural drama.
I tried this after watching someone else do it online, and I shocked myself with how decent it looked. I also refused to show anyone my first attempt, because I enjoy keeping friendships.
Make it easier:
- Pick a face with clear glasses, a beard, or big hair.
- Draw the outline with thick lines.
- Carve big sections and skip tiny details.
Best shortcut: Carve the eyes as simple shapes, then let the candlelight do the “expression” work.
10) Stacked Mini-Pumpkin Totem (Three Faces, Zero Boredom)
You carve three small pumpkins and stack them into a totem. Each pumpkin gets a different expression, so you get variety without needing one giant complicated design. Do you want your display to look intentional with minimal brain strain?
This idea also helps if one carving goes sideways. You just put the “oops pumpkin” on the bottom and pretend you planned it.
Totem lineup ideas:
- Top: surprised face with round eyes
- Middle: angry face with sharp eyebrows
- Bottom: sleepy face with droopy lids
Stacking tip: Push a wooden dowel through the centers to keep everything stable.
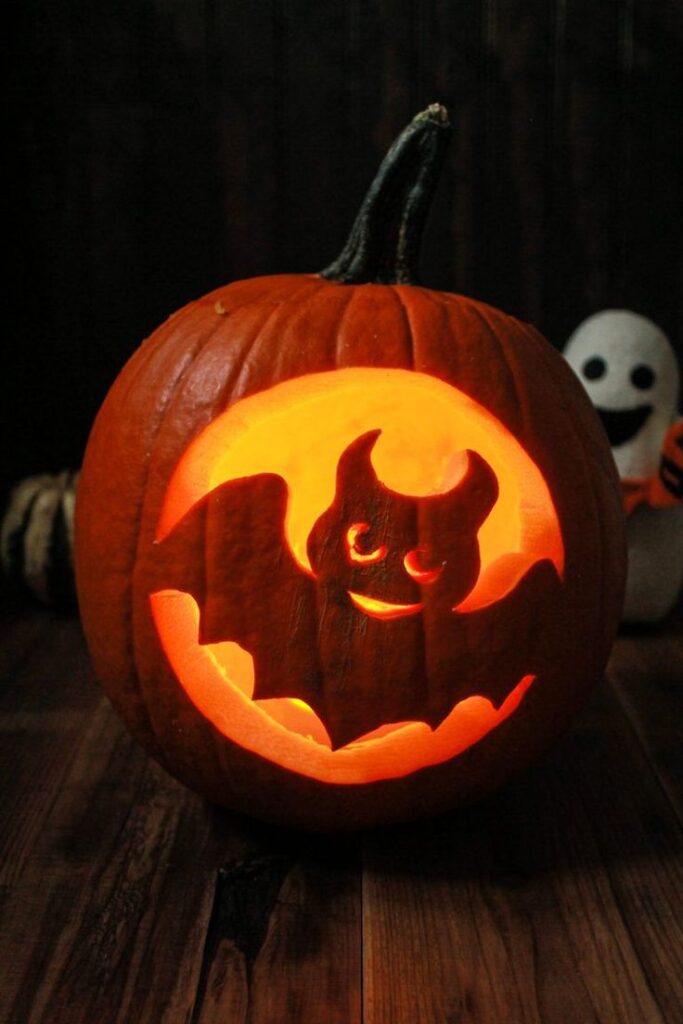
11) “Peekaboo” Bat Cave Cutout (Simple 3D Trick)
This one makes people stop and stare. You carve a cave opening, then you carve a bat (or a rat) so it looks like it peeks out from inside. You create depth without doing complex sculpting.
Have you ever seen a pumpkin that looks like it has layers? This gives you that vibe fast.
How to do it:
- Cut a big cave-shaped opening on the front.
- Carve a bat silhouette on a thin inner “panel” (use a cut piece from the lid area).
- Attach the bat panel inside with toothpicks so it sits back a couple inches.
That little shadow gap makes the whole thing look fancy 🙂 and you barely break a sweat.
Wrap-Up: Choose a Design Get a Knife Make Some Fun (The Good Kind)
You now have 11 DIY Halloween pumpkin carving ideas. They range from classic designs to cool constellation patterns and 3D-like monsters. You can go for a happy jack-o’-lantern.. You can create a spooky haunted house or a peekaboo bat cave. It’s up to you to decide how you want to make it.. You also get to handle the pumpkin guts.
So which design matches your Halloween mood this year? Do you want something playful, creepy or “my pumpkin might scare you”? Pick one draw it and carve it like you mean it. If you make a mistake just say it’s “rustic”. Move on. Be, like a Halloween artist.